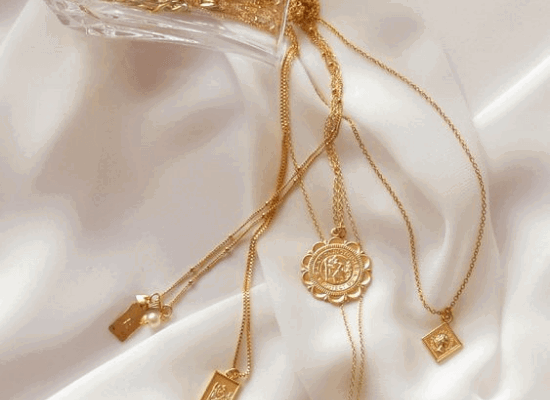
We’ve all been there: You reach into your jewelry box for a finishing touch — only to find that the necklace you dig out is a tangled, knotted disaster. It can be frustrating when your precious necklaces get all tangled up. You might feel like you’re going to have to spend hours trying to get it untangled. But with a few simple steps, you can fix the problem in less than 5 minutes! In this blog post, we will teach you how to quickly and easily untangle your necklace. Follow these simple instructions and you’ll be good to go!
How do you untangle a thin chain?
There are four main, stress-free ways you can untangle a necklace: you can use baby powder, olive oil, Windex, or just a straight pin. Instructions are somewhat similar for all four methods—you want to unclasp the necklace, spread it out on a flat and hard surface, rub some lubricant (like baby powder, oil, or Windex), and work out the knots with a straight pin. Be patient: with enough grit, you’ll get there!
Getting you prepared
You’ll want to find a hard and flat surface with a black or white background. This makes it easy for you to see the tangles in your necklace clearly. Turn on the light above you. Visibility is key!
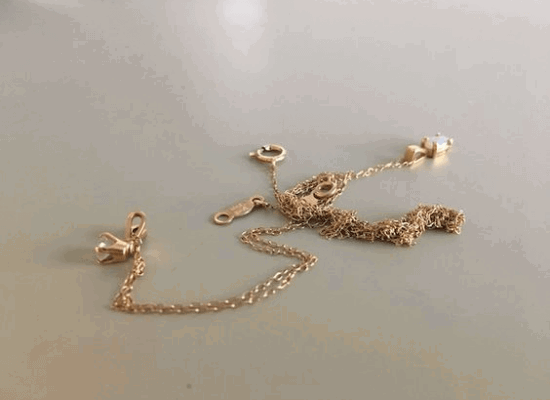
Then, spread your necklace out and identify the spots that are tangled. Be very gentle as you do this step; you don’t want to further tighten any knots. Unclasp the necklace or necklaces, if there are multiples tangled together.
Now, you’re set. All you have to do is choose one of the ideas below, and you are ready to untangle necklaces!
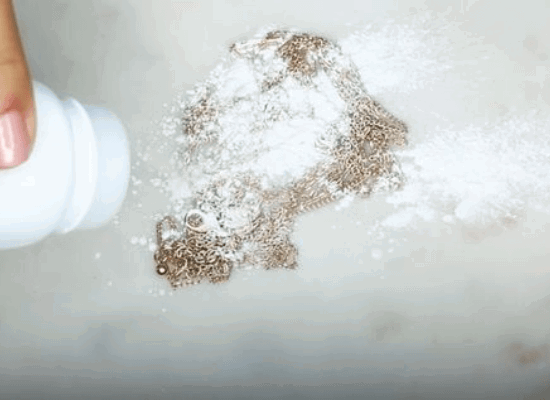
- Baby your necklace
Items needed: baby powder, a safety pin or a fine needle, and a paper towel.
Sprinkle baby powder all over your necklace. You can be generous, as the aim is to coat the chain. The powder product acts as a lubricant and loosens up the knots. Then, starting at the center of the knot and working outwards, carefully begin pulling the knot apart with your fingers and the help of a safety pin or needle. Sprinkle on more powder as needed and keep at it until you untangle all the knots.
Cleaning up: After you’ve finished, clean the necklace with a paper towel to get rid of any residue.
2.Use the oil method.
Items needed: olive oil or baby oil product, cotton swab, mild soap or jewelry cleaner, paper towel.
Don’t have any baby powder on hand? You can use baby oil or olive oil instead. These lubricate your necklace just as well as baby powder. Pour a couple drops of oil, or dip a cotton swab in the oil, then dab the necklace knot to loosen up the chains. For especially stubborn knots, gently work the oil into the knot until it loosens up. Once the area’s been saturated with oil, it’ll be significantly easier to slip the needles into the knot and pull it apart.
Cleaning up: Rinse things off with mild soap and water or jewelry cleaner. Gently dry the necklace with a soft cloth or paper towel.

- Use Windex.
Items needed: Windex, Tupperware, mild soap, paper towel.
Windex can also safely lubricate your necklace. Using a cotton swab, gently spread some Windex on the knot. Then place the necklace in a tiny container and place it over something that vibrates in your house, like your washing machine. Within a few minutes, the necklace knots should start to loosen. Using your thumb and fingertips, gently pull the chain and pick apart the knot in your fingers.
Cleaning up: Fill a Tupperware with water and mild soap. Dip the necklace in there and massage it between your fingers. Rinse it off with clean water and gently dry with a paper towel.

- Use a safety pin.
Items needed: safety pin, needle, thumbtack, or tiny screwdriver.
If you’re low on the supplies we’ve mentioned above, all is not lost. You may still carefully remove the tangle using a safety pin, sewing needle, or even a thumbtack or screwdriver. Insert the pin directly into the center of the knot. Use it to slowly loosen the knot. Then, with two pins or your fingertips, carefully untangle the chains. This method requires extra care for the dainty chains. You want to unravel them, not break the chain.
Cleaning up: None required!
Will a jeweler untangle necklaces?
Yes, if all else fails, you can always outsource the work! If you’ve broken your necklaces while attempting to unravel them, the jeweler will fix them up for you after removing the tangle. The chain soldering process involves mending two broken pieces by soldering, or “gluing,” them back together with a soft metal alloy.
How to prevent tangled necklaces
Wouldn’t it be great if you didn’t have to worry about your necklaces tangling in the first place? Make tangled necklaces a thing of the past with appropriate storage solutions for your home and on-the-go.
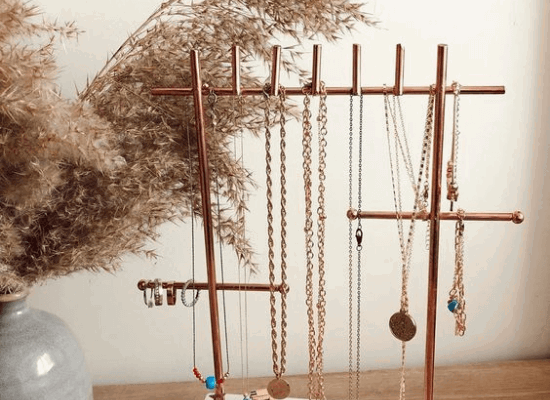
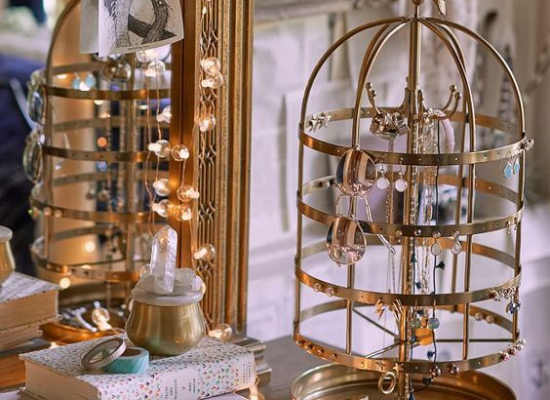
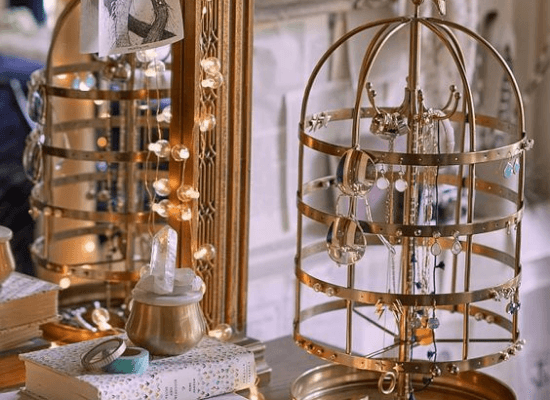
How to store necklaces at home
We recommend a jewelry case for at-home use that allows necklaces to hang separately. It’s important you use a jewelry box or a designated spot to keep everything in. This will prevent your jewelry from getting damaged by everyday products in your purse or drawer. Do not lay necklaces flat! It seems like a good idea, but you’re just asking for tangles. As you open the drawers in these boxes, they will slide and slip.
You can create your own necklace board by sticking pins into a bulletin board or purchasing an over-the-door jewelry organizer. You may hang these from your closet door, mount them on the wall, or insert them into your other hangers to add some brightness and color to your wardrobe.

How to pack necklaces
When you travel, you shouldn’t have to compromise. Jewelry is an important part of any traveler’s attire, whether it be for dressing up or sentimental reasons.
However, we can all agree that keeping jewelry organized without creating a tangled mess can be a real challenge.
Necklaces can get tangled to the point where they are unusable, and it’s difficult to separate them. Small jewelry items may also break apart and go missing if you aren’t careful.
But it doesn’t have to be this way. With a little effort, there are many options to travel with jewelry and minimize the risk of loss or damage.
Here are a few tips to keep all your accessories organized and tidy:
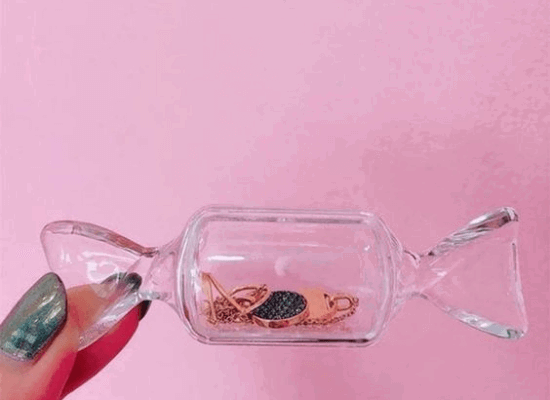
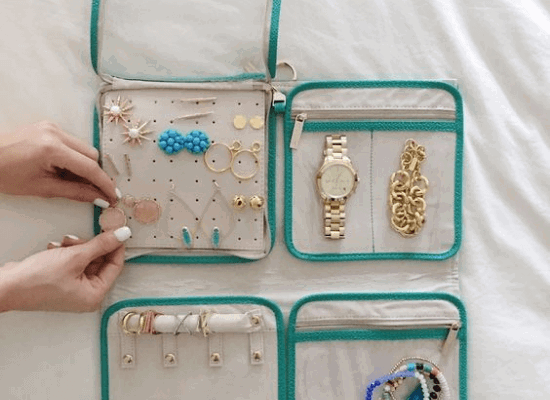
Keep things compartmentalized.
Pill dividers, available in any pharmacy, are a fantastic idea to keep stud earrings, rings, and other small items from getting trapped in your necklaces and other accessories. They also ensure you don’t lose a piece or have an earring back snag a piece of delicate fabric in your luggage.
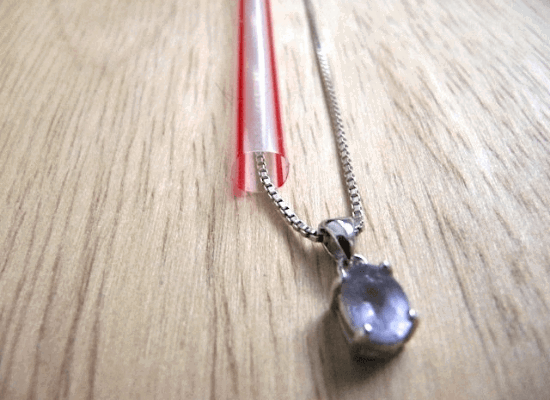
Try a straw.
A simple drinking straw is the key to avoiding tangles. Simply extend the chain and thread it through the straw. Attach the clasp at the top, then place the straw in a toiletry bag. The straw will prevent the chain from moving too much, avoiding knots.
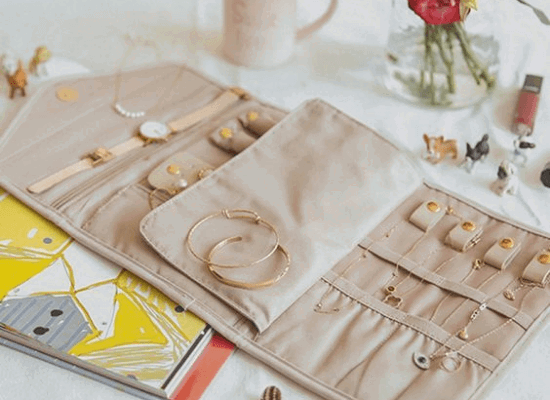
Bag it.
Are you wondering how to keep larger statement necklaces from getting tangled when traveling? If they don’t fit in a straw, keep them separate. Most of the time, necklaces get tangled because they move around with other accessories or items of clothing. So it would be a good idea to purchase a jewelry roll or jewelry carrier.
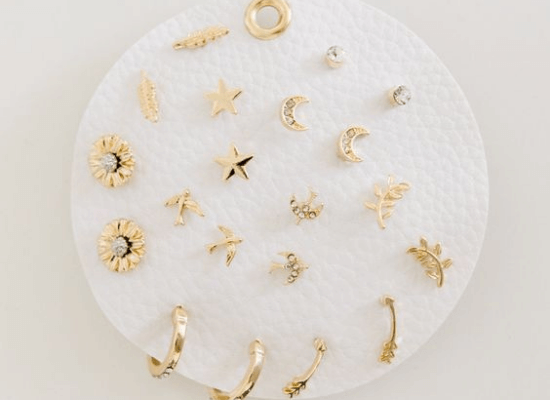
Use a piece of cardboard
If you’re taking earrings for pierced ears, cut tiny holes in a thin piece of cardboard and place your earrings into the holes, putting the backings on to keep them secure. Then store your card in a side pocket or a pouch. This method keeps your earrings organized and can help you prevent lost earrings and earring backs, too.
Put your bracelets and cuffs on a t-shirt.
Wrap a t-shirt into a roll and place the bracelets on it, folding the fabric enough so the cuffs stay in place.
Conclusion
Got a tangled necklace? Fear not! Now that you have a bunch of tips listed, you can consider yourself a pro at finding a solution.
We hope you enjoyed these tips on how to keep your necklaces from getting tangled. With a little bit of effort, you can easily avoid the headache of dealing with knots and tangles. Also, with proper storage, you can keep your necklaces safe and other accessories in place. Do you have any other tips on how to keep jewelry organized when traveling? Let us know in the comments below!