
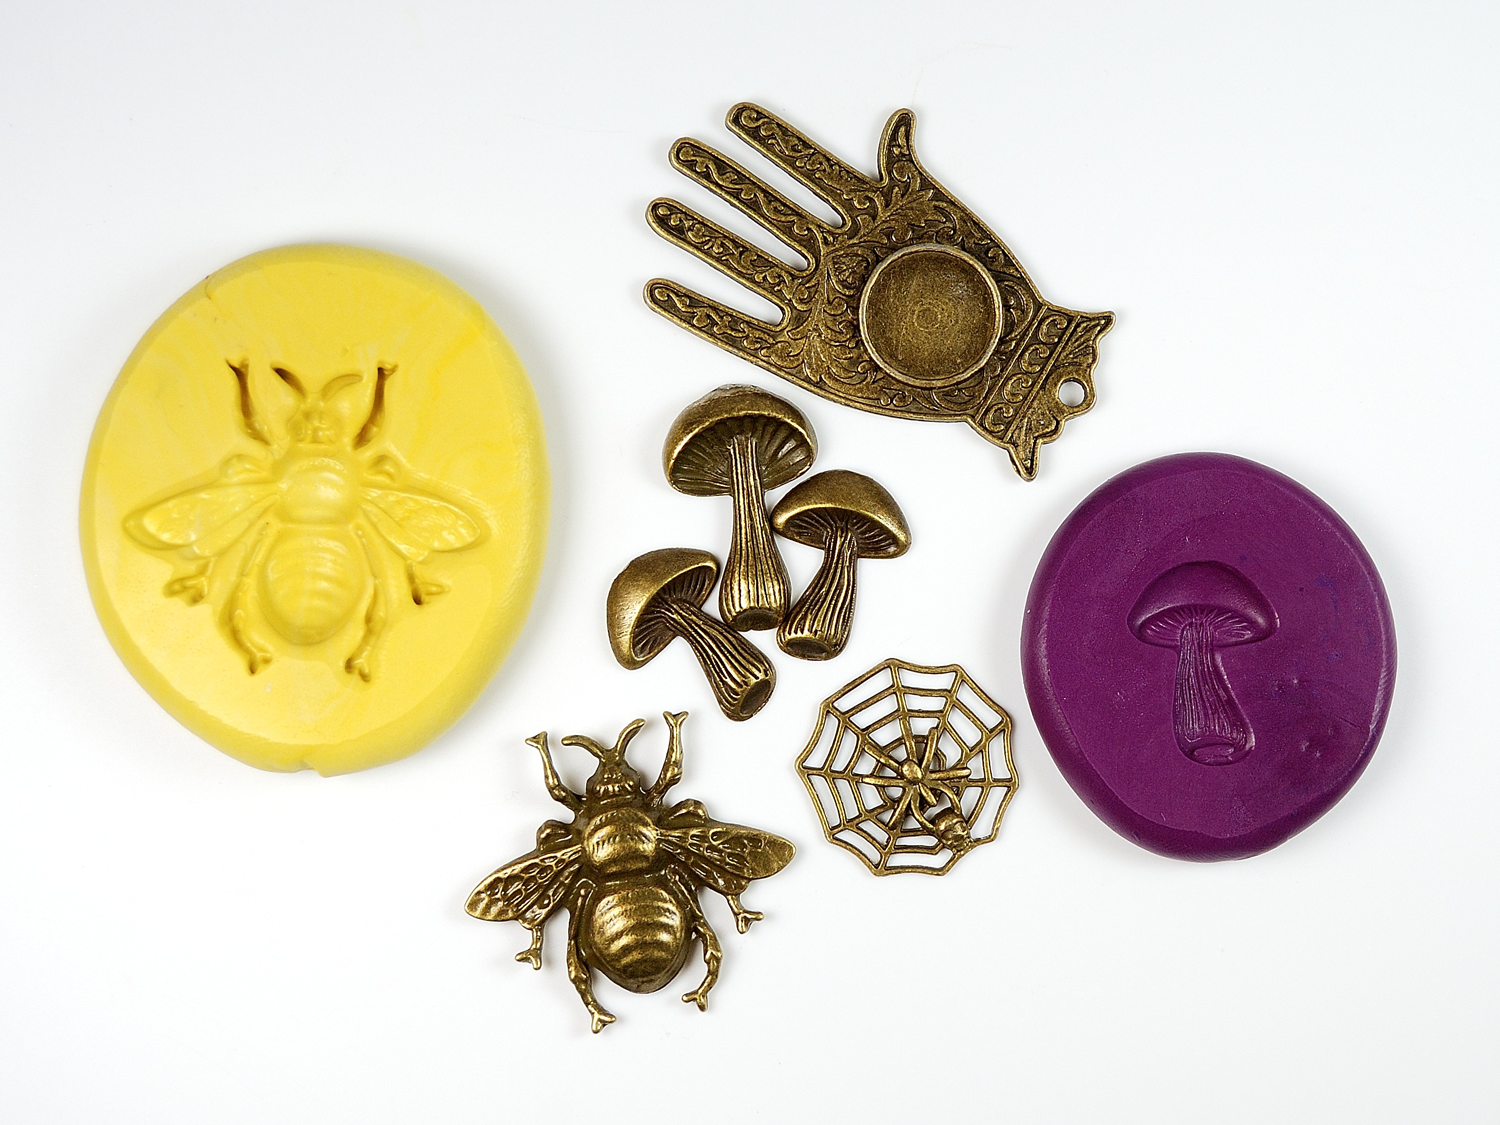
Jewelry molds allow you to duplicate your favorite pattern.
Silicone is the best material for making jewelry molds. It is easy to work with, flexible and does not require specialized machinery.
The jewelry mold creation process begins with polishing the piece you want to duplicate. Then place it on your molding frame. Mix your silicone and pour it into the frame with the piece. Let the silicone cure, then pop out the model from the mold. You now have a mold cavity to create your jewelry casting.
Besides silicon molds, you can also use vulcanized rubber, putty, metal, epoxy, and polyethylene to make your jewelry mold.
This article explores how to create jewelry molds with silicone and vulcanized rubber.
Let’s start with silicone molds.
1. Polish your model
With silicone mold, your castings will start off as shiny as your original piece.
Clean your original piece with dishwashing soap, rinse properly and wipe it dry. When cleaning silver or gold pieces, use baking soda, then dry with a microfiber cloth to avoid scratches.
Polishing your original piece removes dirt and exposes all the details that you need on your casting.
Keep in mind that flat-based pieces are ideal for creating one-piece silicone molds.
When the piece is laying flash on the molding frame, you won’t have silicone running on the undersides. It reduces the work you will do to get the mold in perfect shape for your casting. However, you can work around the mold with a blade to perfect the form.
2. Create your molding frame
The molding frame holds your silicone so that it won’t run off the table. If the frame is just enough to surround your piece, you will not waste your silicone.
Any plastic container lying about in your kitchen can be a molding frame. But a glued frame will be easier to deconstruct when removing your piece from the mold.
You can also create a molding frame with a cookie cutter, tape, and hot glue. If working with more than one piece, use a cutter that can hold all the pieces. Place a tape on one side of the cutter to form the frame’s base. Then smear hot glue around the outer base of your frame to hold the bottom firmly.
Here’s a video on using a cookie cutter for silicone molds.
3. Place your model in the molding frame
Use gloves to place the model in the frame. Then push the piece down on the frame’s bottom to remove any air spaces beneath. It will prevent bubbles and silicone from running beneath the model.
Without gloves, clean up any fingerprints as best as you can.
After placing the model, mist the inside of the mold frame with mold release and leave for about ten minutes to dry.
4. Mix your silicone
Pour your hot silicone into a container. Follow the manufacturer’s instructions to measure the amount of silicone you need. Or use your discretion to determine the right amount.
Mix the silicone using a vibrating device such as a handheld electric mixer to help remove bubbles. You can also use a plastic spoon or wooden stick.
Spend less than 3 minutes mixing the silicone because it will soon start to cure.
5. Pour silicone into the frame with your model
Gently pour the mixed silicone into the frame with the piece you want to mold. Aim for the frame’s base and let the silicone flow naturally to cover the model entirely.
If you notice any air bubbles, you can expel them with a toothpick. Press on the bubbles to bring them to the surface.
You can also expel the bubbles by placing your mixture in a fridge for some hours. Then remove it from the refrigerator to proceed to the curing stage.
6. Let it cure
Let the silicone cure for one hour to a day, depending on the manufacturer’s instructions.
7. Pop out the piece from the mold
Once the silicone is dry, remove it from the mold frame.
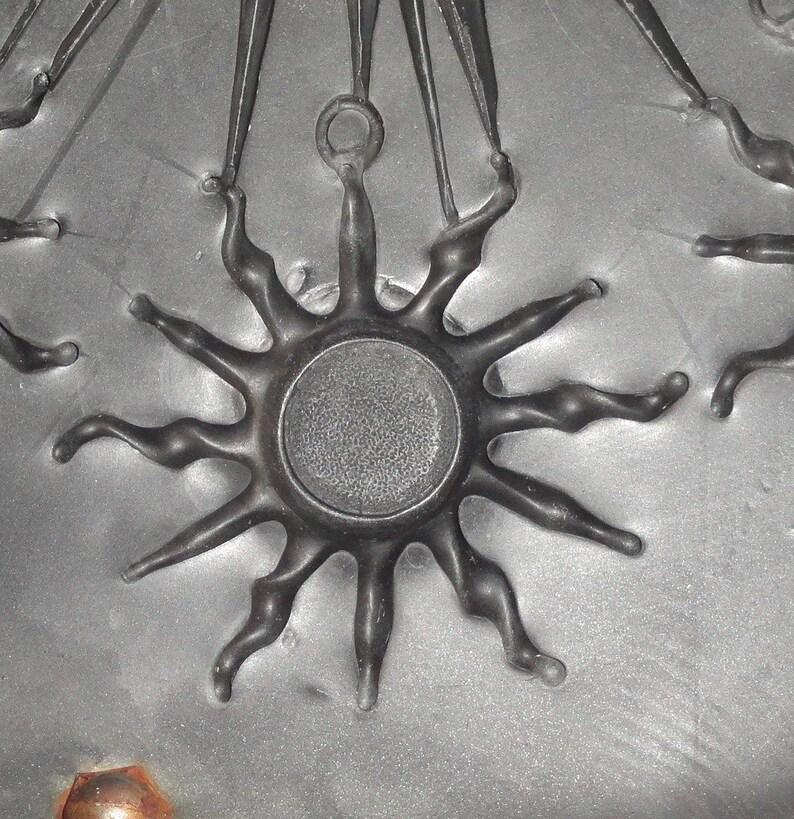
You can remove the tape in the bottom first, then push the mold plus the model out of the frame. And then push out the model from the mold. It will leave behind a mold cavity that’s a negative reflection of the model.
If you used a container for the frame, peel out the silicone from the container’s base. Then push your model out of the mold.
Spray your silicone mold lightly with mold release and leave it to dry for ten minutes.
Your mold is ready to use for castings!
If your model is not flat-based, here’s a video tutorial on creating the perfect two-piece silicone mold.
Without silicone, you can use vulcanized rubber to make your molds.
Though it requires a vulcanizer to heat and press the rubber, rubber molds are excellent for creating wax models.
How to create jewelry molds with vulcanized rubber
To make a good rubber mold, you will need a pendant (or some metallic model), a mold frame, propane torch, a nail, sharp scissors, curved edge scalpel blades, rubber mold-making material, and a vulcanizer.
Creating rubber molds starts with polishing the pendant, then sandwiching the pendant in rubber layers. After this, you place the mixture on a vulcanizer, which heats and presses the rubber mold to create a solid block. Allow the mold to cool, then slice the rubber into two halves to expose the pendant lying on one half. Remove the pendant, and you will have a two-piece rubber mold.
Here’s the rubber mold creation process in more detail.
1. First, polish your pendant with baking soda and dry it. It exposes all the pendant’s details.
2. Lay your mold frame flat on the table to hold the rubber and pendant together
3. Put a layer of rubber in the bottom of the mold frame, then put the original pendant in the center of the rubber layer flat. Put smaller pieces of rubber around and above the pendant to fill up the free space in your frame.
4. Place the mold frame on the bottom platen of the vulcanizer, and lower the top platen to sandwich the mold frame. Heat for 30 minutes at 375 degrees Fahrenheit.
5. The vulcanizer will then heat and press the rubber into a solid block with the pendant in the middle.
6. Please wait for the mold to cool, then remove it from the frame. You can dip the mold in cold water to cool faster.
7. Carefully cut across and down the rubber block using a sharp curved scalpel as you peel back one half. Jagged sides will be perfect for a tight fit after removing the pendant.
Be careful not to scratch your pendant in the process.
Replace your blade as soon as it blunts. The rubber will blunt your blade quickly, and a blunt blade might ruin your mold.
8. After removing the pendant, hold the two rubber halves together. They should fit together tightly for the next step.
9. Finishing up, use your propane torch to heat a nail till red hot. Use the nail to burn a channel in the middle from outside the block to the mold cavity.
You can create a wax model by injecting wax (using a wax injector) into the mold cavity through the channel. When the wax cools, pull apart your mold halves to expose your new wax model.
Conclusion
Silicone and vulcanized rubber are the most common molding materials in jewelry making. They are more accessible and easy to work with. Both processes begin with polishing your model and creating a molding frame.
When working with silicon, place your polished model firm in the molding frame. Then pour in hot silicon and let it cure. After the mold is dry, push it out of the frame and pop out the model. You can then use the mold cavity to form your jewelry castings.
When working with vulcanized rubber, place a layer of rubber in your molding frame. Then place the polished pendant in the center of the rubber before adding more rubber around and on top of the pendant. Heat the mixture in a vulcanizer to form a solid block.
Remove the mold from the frame and cut the rubber block into two halves to expose the pendant. Remove your pendant, then place the two halves back together. Burn a channel leading to the mold cavity. You can now inject wax to form wax models.
If you need help with the mold creation process, contact an expert jeweler on Jewelers Connect. The jeweler will create your custom jewelry molds at your agreed specification and budget.