Be it an heirloom from Grandma or just a pair of earrings you bought for yourself, jewelry is important. And nothing breaks the heart more than your favorite jewelry getting tarnished or broken.
But what if you can fix the jewelry at home? You can use a soldering iron to clamp the jewelry pieces together or employ a super glue to press them with each other. If the clasp is broken, you can use a pair of pliers to fix them.
Is your chain broken, or maybe your gold ring is out of shape? If anything like this has happened to you, this guide is for you. We have described the six best ways to repair your jewelry at home.
These quick fixes will allow you to wear your favorite jewelry again! Read on.
How to repair jewelry with a soldering iron?
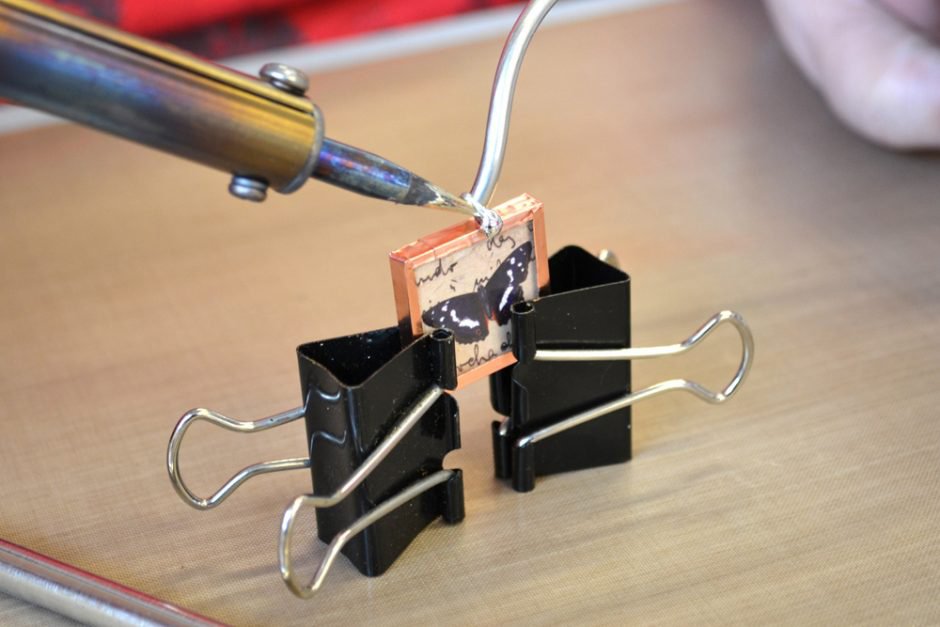
A soldering iron is used for heating solder, which is a metal-based substance used to join two or more metals. Jewelers often use soldering iron for jewelry making, glass assembling, and metalsmithing.
But soldering iron is also pretty useful for jewelry repairs, creating a strong link between the metal components that have broken, such as rings, chain links, clasps, bails, and charms.
To repair the jewelry with a soldering iron, you will need solder, paintbrush, flux, clothespins or clamps, towel, pickle solution, and most importantly, soldering iron!
1. The first step is to submerge the broken jewelry pieces into the pickle solution. The acidic components of the pickle solution make it easy to clean the metal before soldering.
You should keep the jewelry pieces for about 10 minutes into the solution and then pat them gently with a towel until they are dry.
2. After this, take the jewelry pieces you want to solder and press them into the desired position.
You can use clamps, clothespins, or even a string to keep the pieces in position. However, in doing so, make sure the surfaces you want to solder are not covered.
3. Then, apply a thin layer of flux on the surface. Flux is a substance that helps the solder adhere to the surface. You can use a paintbrush for precise application.
4. Once done, plug the soldering iron and let it warm for several minutes.
5. Position the solder’s tip in such a manner that it rests between the jewelry components you want to join.
6. Then, push the tip against the solder, which will melt it, and draw the pieces together. You should drag the solder across the two jewelry pieces.
7. Once the solder has melted between the two jewelry pieces, you should lift the soldering iron and unplug it. Allow the solder to cool and solidify. And your jewelry will look just like the original piece!
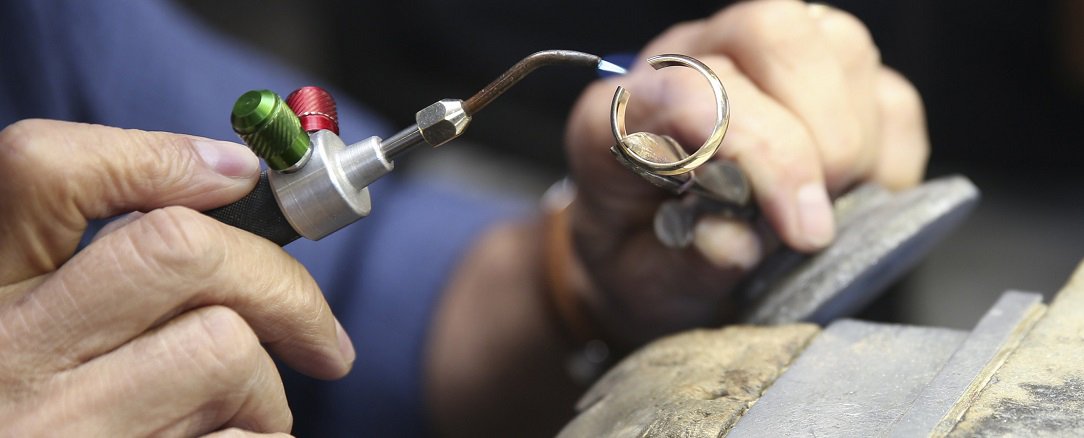
A vital tip to remember is that if you are using jewelry made up of silver, gold, or other precious metals, use solder in a similar alloy. On the other hand, if the soldering gun is not hot enough, you can use a propane torch or butane as well.
How to repair jewelry with glue?
Sometimes, you don’t have enough time to get a soldering iron and fix your favorite bracelet. So how about something simpler?
You can use superglue to repair your jewelry and wear them again as if they never broke! For this purpose, you will first have to find a superglue in your local market.
1. Start by cleaning the surface of your jewelry, removing any dirt or residue that might have accumulated on it. You can clean using a pickle solution.
2. Then, take a small brush to carefully apply a very thin and even layer of glue on each surface you want to join.
3. Then, press the surfaces firmly together for a few minutes. Make sure you do not move the surfaces until they are fully set.Some excess glue might seep out at this stage, but you don’t have to worry about it at this stage.
It is preferable to give the jewelry about an hour to dry or wait overnight before wearing it again.
4. Once the jewelry is dry, you can use a sharp blade, nail polish remover, or glue remover to remove excess residues.
How to repair jewelry clasp?
If a broken clasp prevents you from wearing your jewelry, then it’s time to fix it. All you need is a flat nose plier!
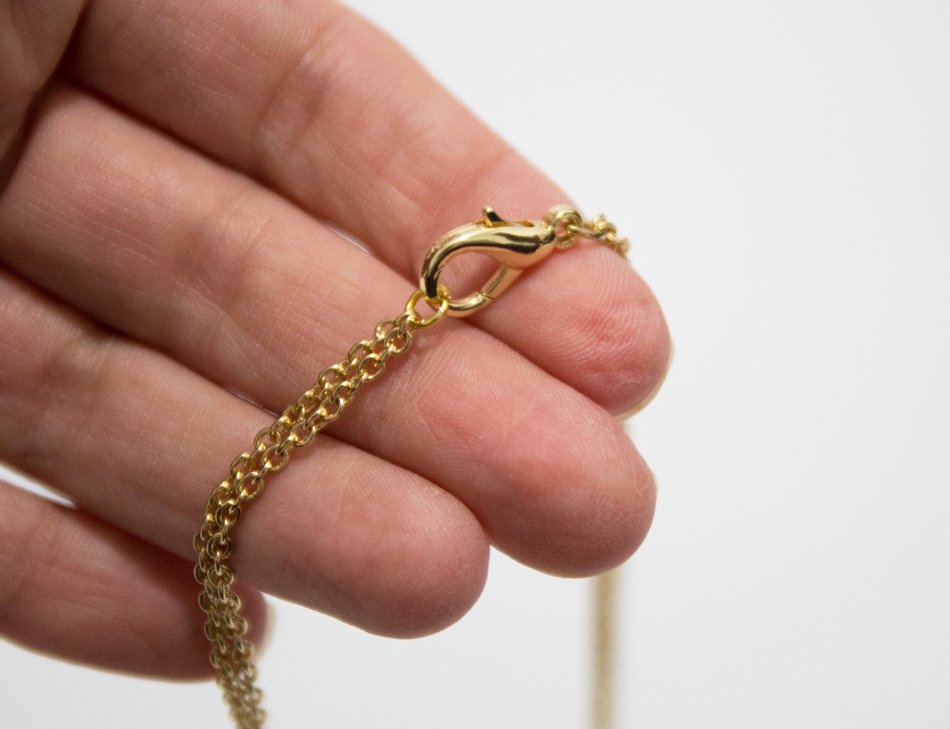
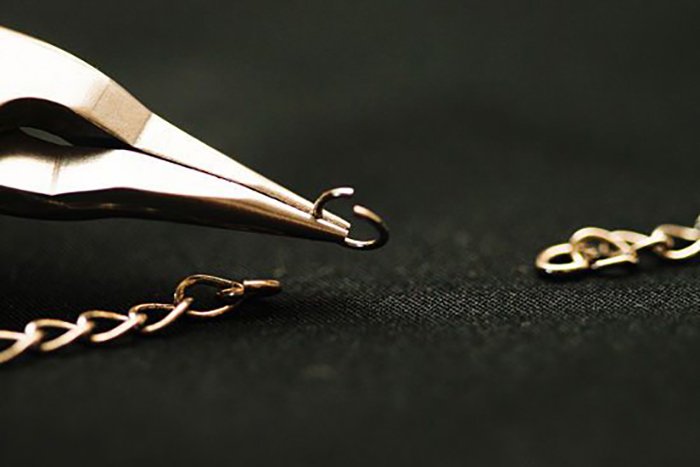
1. Take your clasp and locate the jump ring on it. The jump ring is the link between the chain and the clasp. It is found near the end of the chain.
2. Then, use a pair of flat-nose pliers to grasp the ring from the slit.
3. Take another pair of pliers to grip the opposite side of the slit.
4. Start twisting one hand away from the slit while twisting the other hand towards the slit to create a gap.
5. Once the gap is big enough, you can remove the clasp. If a new jump ring is also required, use the plier to remove the old jump ring from the chain first. And then get the new jump ring and twist it open using the pliers.
6. With your pliers, you can then slide the clasp and the chain onto the jump ring.
7. Use one pair of pliers to grab any side of the slit and twist it towards the other side. This will close the jump ring.
8. If there are gaps in the slit, first twist the jump ring to make ends unaligned.
9. Then, use a plier to grip the jump ring while squeezing the ring’s rim with the other pair. This will bring the ends close to each other.
Once done, twist the jump ring again to close it.
 How to fix a broken rope chain necklace?
Most people end up breaking their necklaces either because they mishandle them or don’t keep them properly with themselves.
If that has happened with you as well, you might be considering throwing the necklace. However, you can fix a rope chain necklace by yourself.
1. You need to cut the ends of the broken pieces using a pair of snips.
You should create around half of the millimeter gap in the ends.
2. After cutting the ends, use a soldering iron to weave the two halves together.
3. Then, coat the ends with boric acids and then apply the flux.
4. Rub the ends of the chain after a few seconds of applying the flux. When the flux is heated, it tends to heat up and cause the chains to move in different directions.
Rubbing will break the bond between the chain and joints, making it flexible.
The flux will stop expanding after a few seconds.
How to reshape a ring?
Over time, rings tend to bend due to wear and tear. Ring size also changes easily. But you can easily fix the ring using a mandrel; which is a tapered dowel for repairing and resizing rings.
1. Before starting, make sure to check the warranty of your jewelry. Many jewelers offer free repair services.
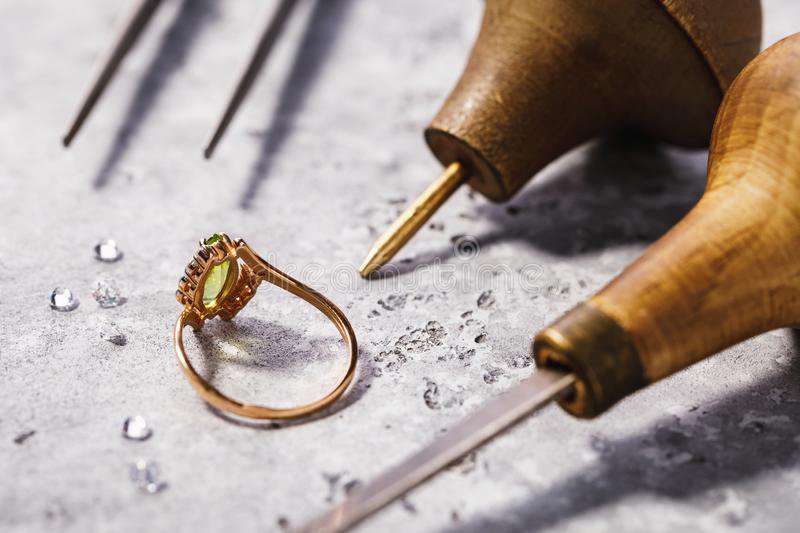
2. You also need to consider the ring’s material. Rings that have gem settings should be ideally fixed by a professional, as a DIY repair can cause damages to the small stones.
3. To begin, you should choose a mandrel. Ideally, the mandrel should be made of sturdy wood and round in shape.
4. After getting the tool, you should slip the bent ring on the shaft of the mandrel until it cannot go any further. Don’t try to forcefully push the ring on the mandrel to avoid warping it.
5. Then, gently apply pressure on the ring with your fingers around its surface. Make sure not to push the ring down the mandrel’s shaft.
6. If your jewelry is made up of a hard material, you can tap it gently with a jeweler’s hammer. Tap five to six times strongly on the spots, which are particularly dented.
7. Once done, you can use a cloth or emery board to remove any scratches or marks that might have appeared on the ring. You can remove deeper scratches with sandpaper.
8. The ring can then be polished using a polishing agent or a jewelry cleaner.
However, if the ring is severely distorted, you might have to take it to the jeweler for reshanking.
Reshanking involves cutting the ring’s bottom and replacing it. Before bending the ring, you should also consider how the ring is made. For instance, bands and rings having stones are quite tricky to reshape because the stone could loosen when fixing them.
How to repair gold jewelry?
A wooden piece of earrings might break and cause a bit of pain. But if gold-filled jewelry breaks, anyone can have a pain worth of heartbreak.
Gold jewelry consists of a solid sheet of gold incorporated on the top layer of the metal base. Due to the way it is constructed, there can be extensive issues with the repairing process.
There are different ways to repair gold jewelry. For instance, if the ring has to be resized, you can use the ring mandrel to fix it.
On the other hand, if your gold-fill chain is broken, you can repair it with soldering. While soldering, there might be a dark spot in the area of work. This can be polished or covered with pen plating.
Here’s what you can do:
1. Choose a soldering brick such as magnesia, charcoal, or kiln brick.
2. You will then need to get a gold solder, either in sheets, chips, or small wire.
3. Firstly, you will have to clean the gold thoroughly by placing the jewelry in a pickle solution. Then, you can rinse it in water to remove all the excess acid.
4. Using a clamp, place the gold on the soldering block and place some flux on the areas that have to be soldered together.
5. Take a torch to heat the flux a bit until there is a protective solid layer on the top.
6. Then, place a bit of solder on the surface and heat it using your torch. The heat should be enough to melt the solder.
7. Once the solder is set in place, you can let the piece cool off. After a few minutes, you can lower the gold in the pickle bath for any fire scales to be removed from the surface.
8. Finally, you may polish the piece or file off any solder that might be on the surface.
When to get help?
Sometimes, it’s impossible to fix the jewelry yourself, especially if it’s made up of precious metals such as platinum, gold, or silver.
The soldering process can scrap the surface of the jewelry, which might reduce its shine and color. And sometimes, you might not have the right tools to fix the jewelry.
This is where you need the help of an expert jeweler. You can go to a local jeweler around your area to get the jewelry fixed, reshaped, or polished.
But sometimes, it’s not possible to go to a jeweler and run around them to get the work done. What if you can get the job done online?
At Jewelers Connect, you can create a jewelry repair project and post it online. Expert jewelers will then bid on your project with their prices, and you can hire the one you prefer. It makes repairing jewelry ten times easier!
Conclusion
So if you have a broken piece of an earring, pick up a soldering iron and start melting the solder. Or you can take a nose plier to fix the clamp in your chain.
How about superglue? You can apply a thin layer of superglue on the surfaces of the jewelry and push them together.
If you are still unsure of how to fix your jewelry at home, access the education resources at Jewelers Connect and learn more about the jewelry-making process.
